Install Kali Linux on Windows Support GUI
In this article, we are going to learn how to setup Kali Linux on Windows Operating System which Supports GUI faster.
We require to update WSL 2 on Windows Operating System.
Prerequisite : To update to WSL 2, you must meet the following criteria:
Running Windows 10, updated to version 1903 or higher, Build 18362 or higher.
Verification of Windows Version
Check your Windows version by selecting the Windows logo key + R, type winver, select OK. (Or enter the ver command in Windows Command Prompt)
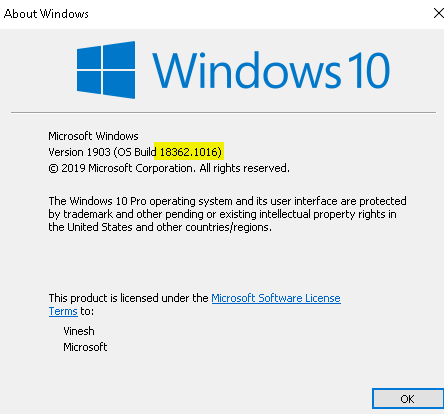
Please update to the latest Windows version if your build is lower than 18361.
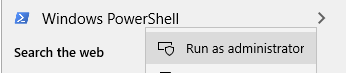
Installing WSL 2 Using Power Shell
Ensure to run POWERSHELL as administrator
Enable-WindowsOptionalFeature -Online -FeatureName Microsoft-Windows-Subsystem-Linux
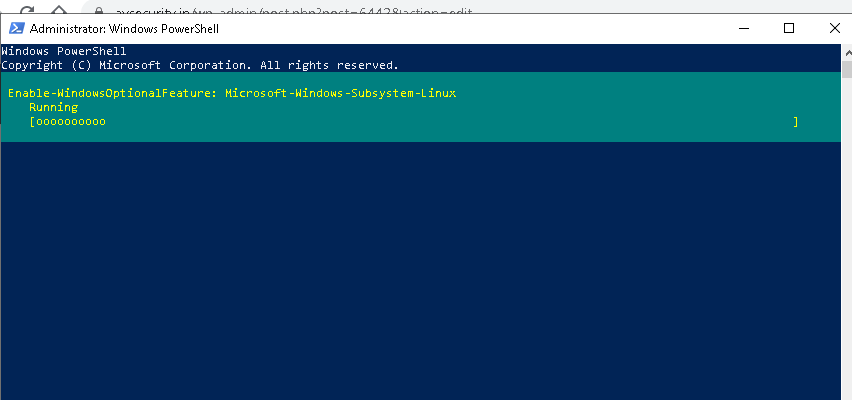
Enable Windows Feature
dism.exe /online /enable-feature /featurename:VirtualMachinePlatform /all /norestart
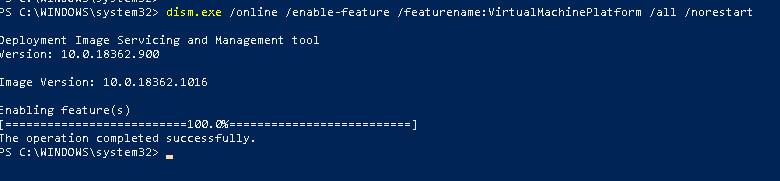
Enable Virtual Machine Feature
dism.exe /online /enable-feature /featurename:Microsoft-Windows-Subsystem-Linux /all /norestart
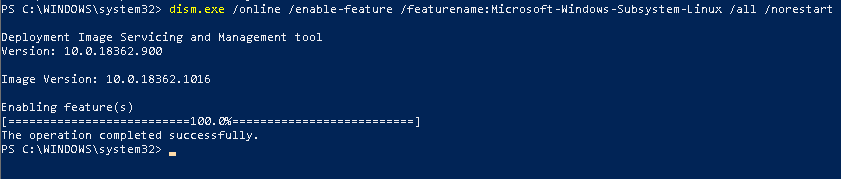
Enable Windows SubSystem Linux Feature
Now restart the system.
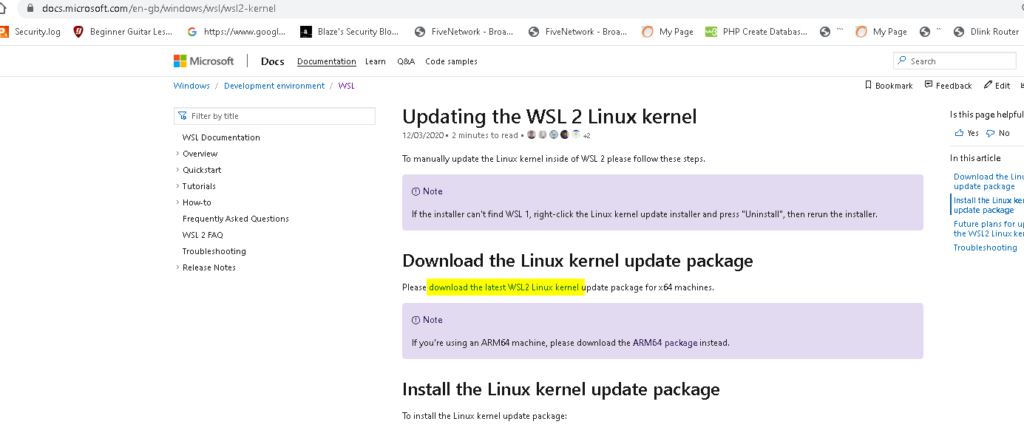
Next step to update the kernel.
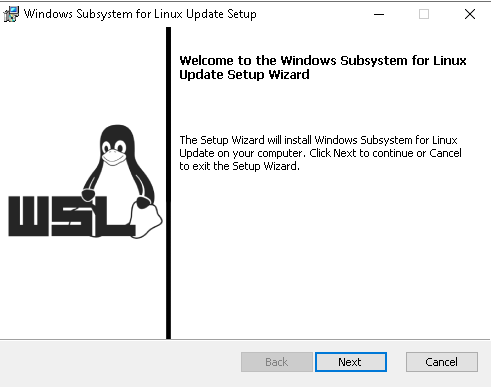
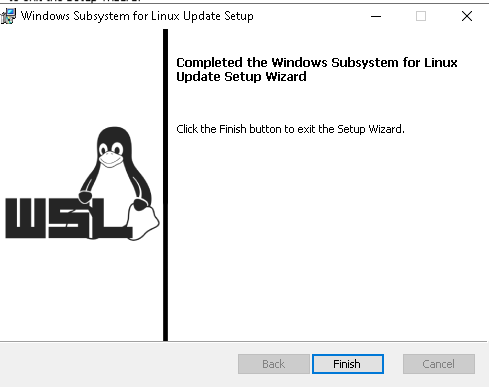
Download the latest WSL2 Linux kernel by browsing below mentioned URL
https://docs.microsoft.com/en-gb/windows/wsl/wsl2-kernel
Install WSL On Windows
Set WSL to latest version
Installing Kali using Window Store
Open Microsoft Store and Search for Kali

Accessing Kali System using CLI
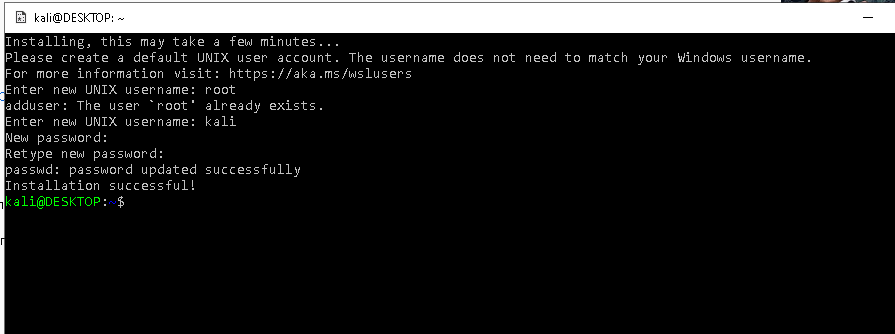
Configure UserName and Password
sudo apt update && sudo apt upgrade -y
Fixing Problem in Case Related to Update and Upgrade
Edit /var/lib/dpkg/info/libc6\:amd64.postinst and comment out the line # set -e so $ apt-get -f install can continue.
sudo apt install kali-desktop-xfce -y
sudo apt install xrdp -y
sudo service xrdp start
Install Dependency Component on Kali

Vinesh Redkar
Senior Security Researcher
Security professional with over 9 years of experience in the security domain across various industries such as Finance, Insurance, Telecom, and government